Importing Time from CSV
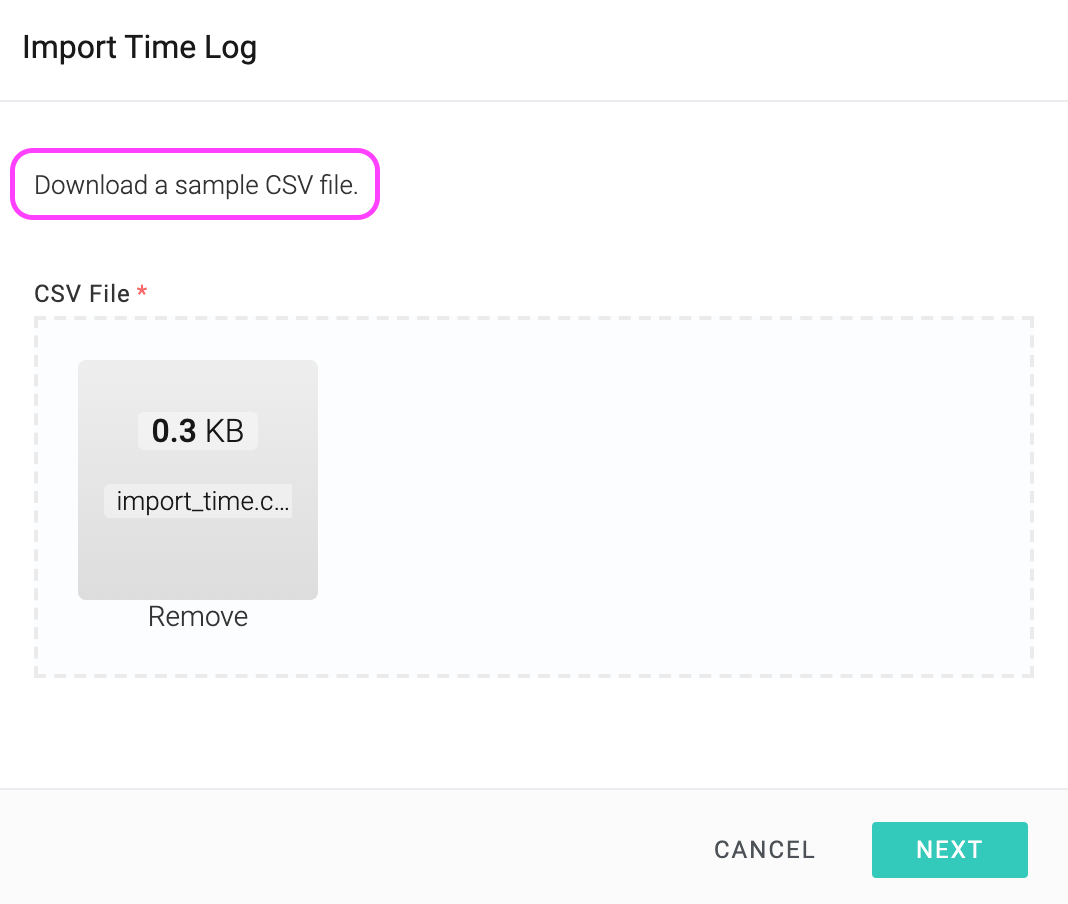
Celoxis provides you with the ability to import time entries from CSV. If you have a Microsoft Excel file, then you can export it in CSV (comma separated values) format and then import it in Celoxis.
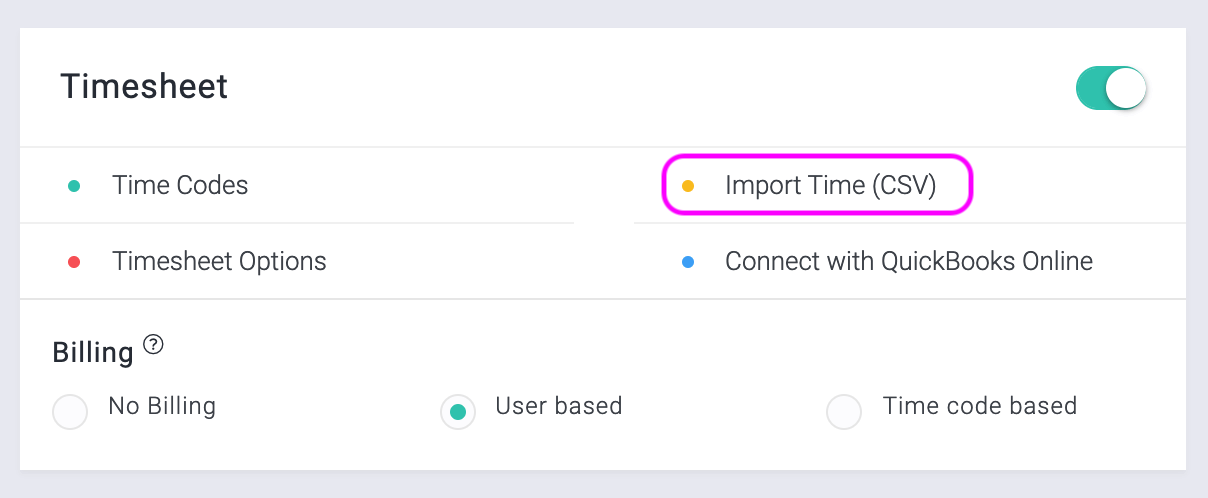
To import time entries, navigate to Top Menu ▸ ▸ Admin ▸ Timesheet ▸ Import Time (CSV).


Only Admin users can import time entries via CSV.
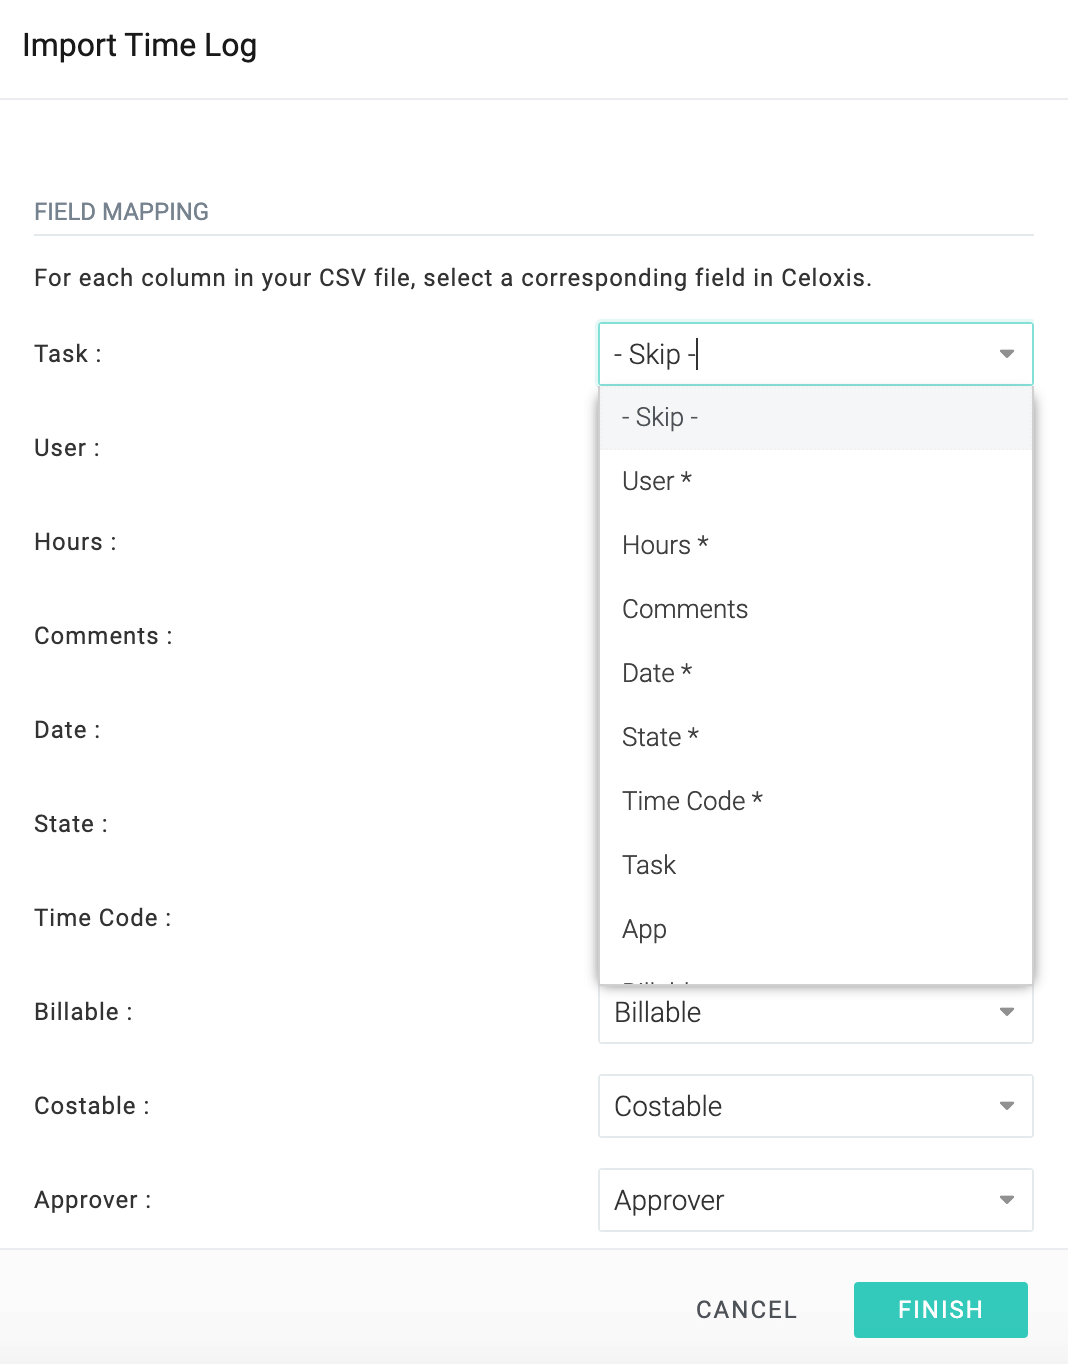
Fields supported:
- Task/App
- User - mandatory
- Hours - mandatory
- Comments
- Date - YYYY-MM-DD format, mandatory
- State - mandatory
- Time Code - mandatory
- Billable
- Costable
- Approver
- Invoiced By
- Custom Fields - you will have to create the fields in Celoxis first
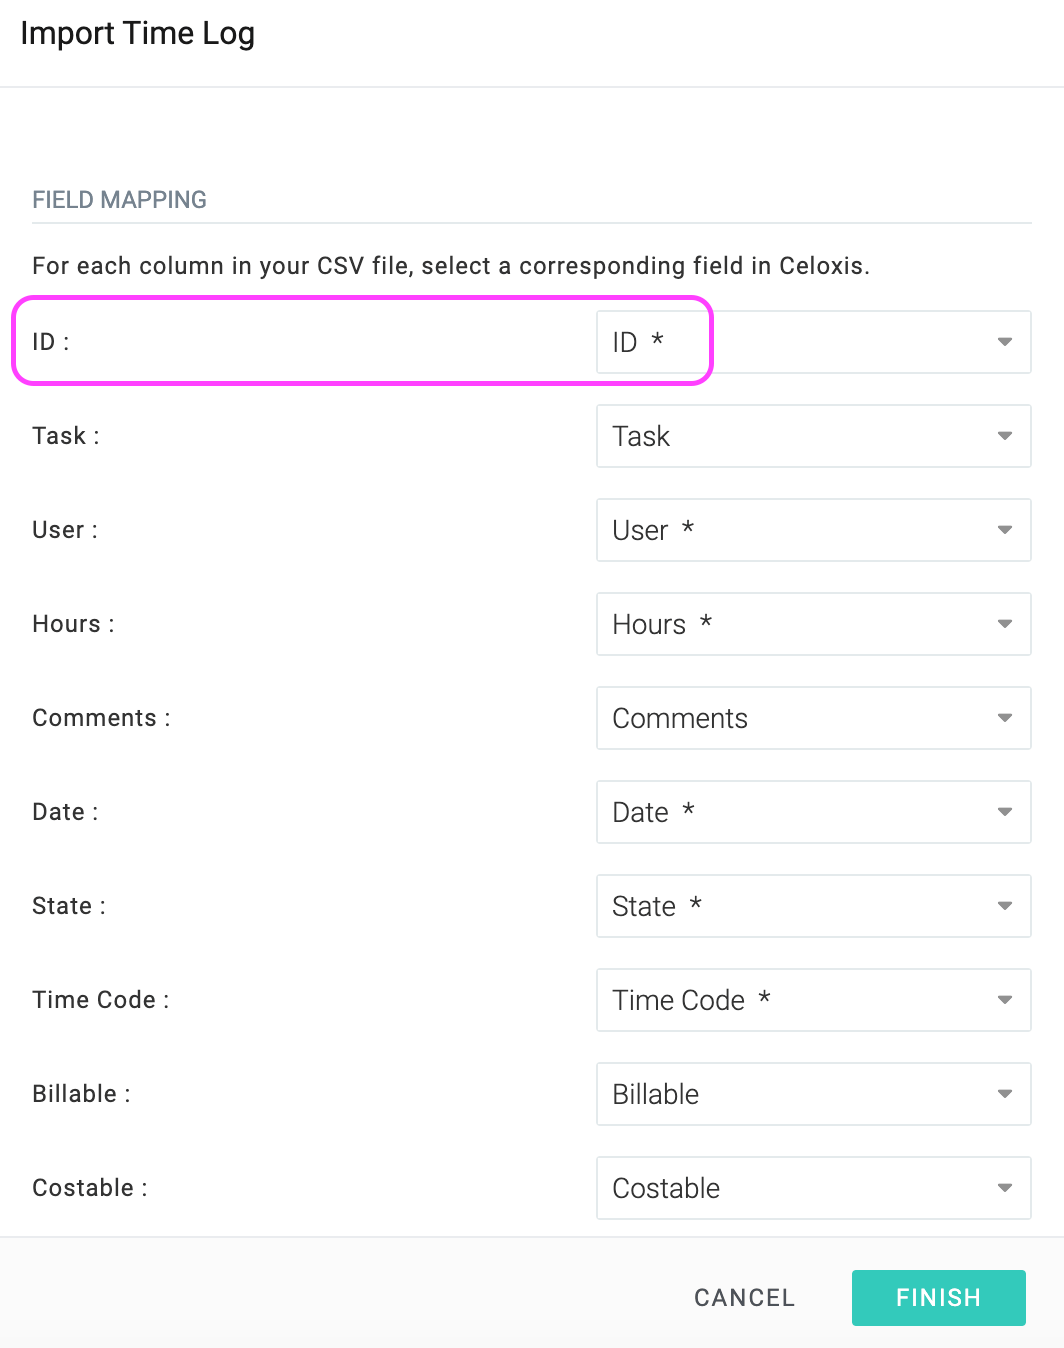
- ID - mandatory, only when you are updating time entries using a CSV file
Updating Time Entries
Celoxis also provides the ability to update the existing time entries by importing a CSV file. To update time entries you must include the ID of the time entries in the CSV file.
To find the ID of the time entries, add ID column in the Time Log report(Main Menu ▸ ▸ Time Log).

While importing from CSV the dates must be in ISO format i.e. YYYY-MM-DDThh:mm:ss 1994-11-05T08:15:30 corresponds to November 5, 1994, 8:15:30 am. You can also specify YYYY-MM-DD where time is not material.